Deploy to an environment using either of the following methods:
Edgecast Console: Use this method to deploy changes made within the Edgecast Console.
Load the desired environment.
From the Edgecast Console, select your private space or the desired organization.
Select the desired property.
From the left-hand pane, select the desired environment from under the Environments section.
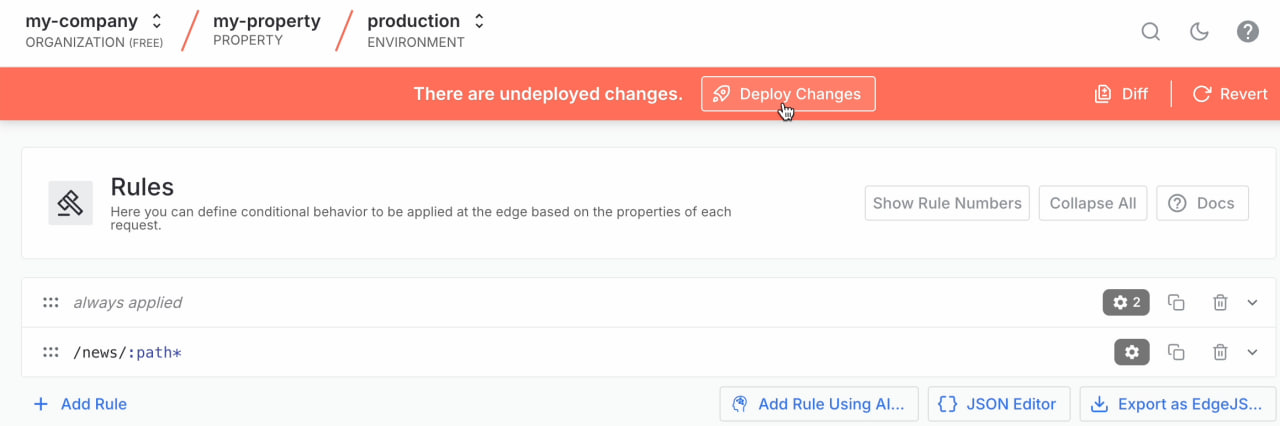
Update your hostname, origin, or rule configuration.
From the notification bar at the top of the page, click Deploy Changes.
Edgecast CLI: Use this method to deploy changes to your CDN-as-code configuration from your local machine (e.g., changes to edgio.config.js or routes.[js|ts]).
If you omit the environment argument, then the deployment will be applied to the default environment.
The CLI will automatically detect your property’s framework, create an optimized production build, and upload it to Edgecast. This takes about a minute for most applications.
Once the deployment is complete, the CLI will output the URL for your site. Your property’s name is automatically derived from the name field in package.json. This can be overridden by using --property option when running edgio deploy.
Your initial CDN-as-code deployment will generate system-defined origin configurations along with those defined within your edgio.config.js. Learn more about system-defined origins.
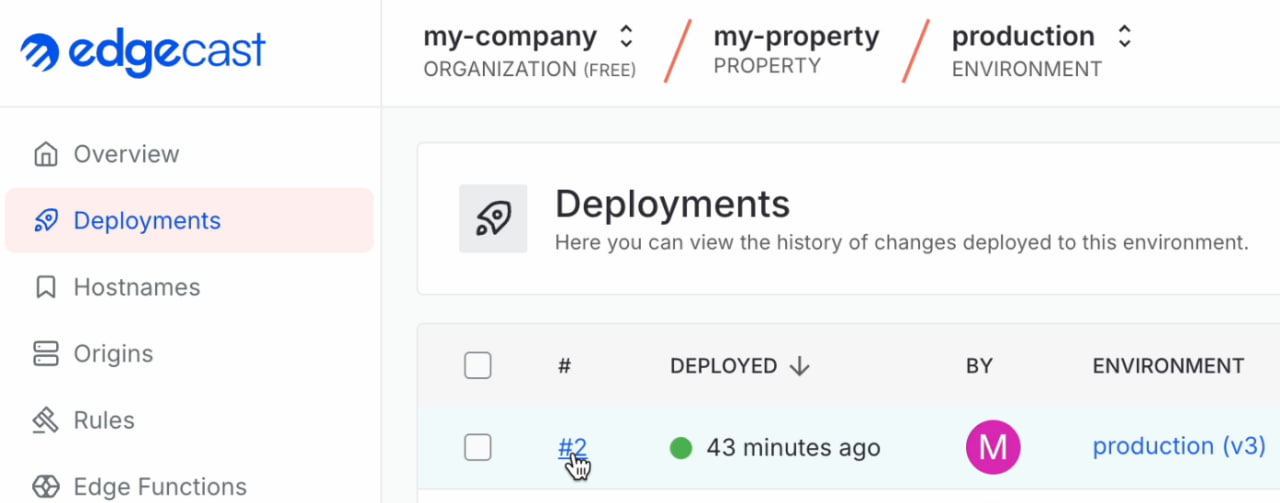
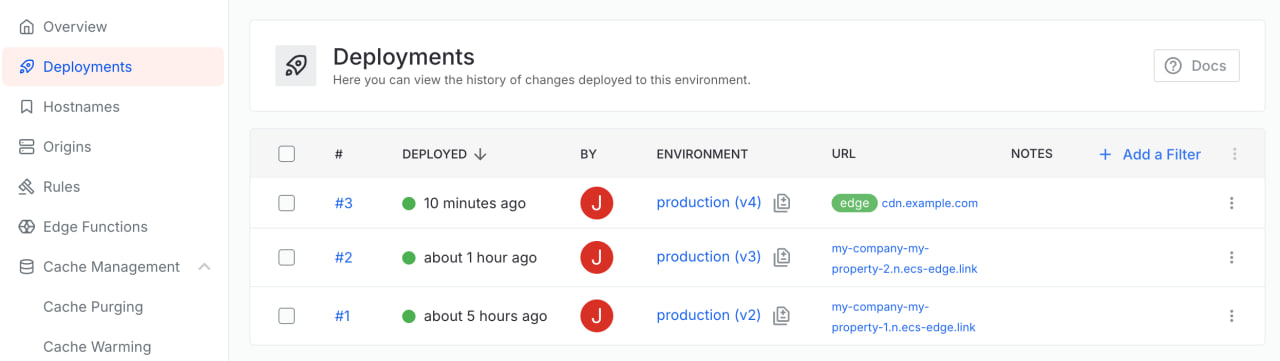
Upon deploying a build, view deployment information from within the Edgecast Console by navigating to the desired environment, clicking on Deployments, and then clicking the deployment’s version number.
This deployment-specific page provides information about the deployment, such as:
How and when it was deployed.
Current status.
URL(s) through which you can serve traffic for your website. These URL(s) are listed under the URL section.
If you are using CDN-as-code, then we also provide:
A permalink for testing your site. This type of link bypasses the edge of our network and serves traffic directly from the Edgecast cloud.
Server logs through which you can view console messages defined within your application.
View status information for all deployments from the Deployments page. Online deployments are indicated by , while retired deployments are indicated by .
Paying customers may have up to 10 online deployments per environment, while free customers are restricted to 3 online deployments. If you are using CDN-as-code, then you may use the permalink associated with any online deployment to test your site.
Although older deployments are considered retired, you may revive a deployment by visiting its permalink. Once the deployment has been revived, the permalink will once again load your site. Additionally, we will retire the next oldest online deployment.
Upon deploying changes, Edgecast assigns a unique version number to the deployment. This allows you to track the changes deployed to this environment.
Key information:
Edgecast increments this version number by 1 for each new deployment.
You can quickly roll back to any previous version. For example, you may wish to roll back to a previous deployment when a breaking change is introduced into an environment.
Each deployment is also assigned an environment version number. Deploying new changes increments both the deployment and the environment version number. However, rolling back to a previous environment version will only increment the deployment version number. The environment version number, on the other hand, will be set to the environment version to which you rolled back.
To roll back to a previous version
Load the Deployments page.
From the Edgecast Console, select the desired private space or organization.
Select the desired property.
From the left-hand pane, select the desired environment from under the Environments section.
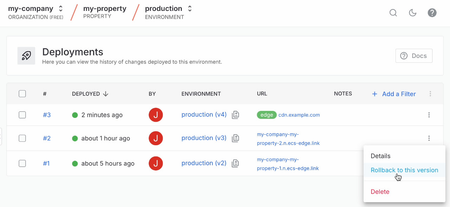
From the left-hand pane, select Deployments.
Find the deployment that should be applied to this environment, click its icon, and then click Rollback to this version.
When prompted, click Promote to production to confirm that a previous deployment will be applied to this environment.
Deploying changes to Edgecast generates a deployment build. Upon the completion of this deployment, this build is assigned a unique and permanent URL based on the organization name, property name, branch name in source control, and an incrementing deployment number. If you use Git, the branch name is set by default. If not, you can specify the --branch option when running edgio deploy.
Permanently accessible deployment builds allows you to preview other developers’ work before merging a pull request and enables you to “go back in time” to find where a bug or change in behavior originated. We recommend configuring your CI environment to deploy every push to Edgecast.
You need to configure the following items in order to get a GitHub action set up.
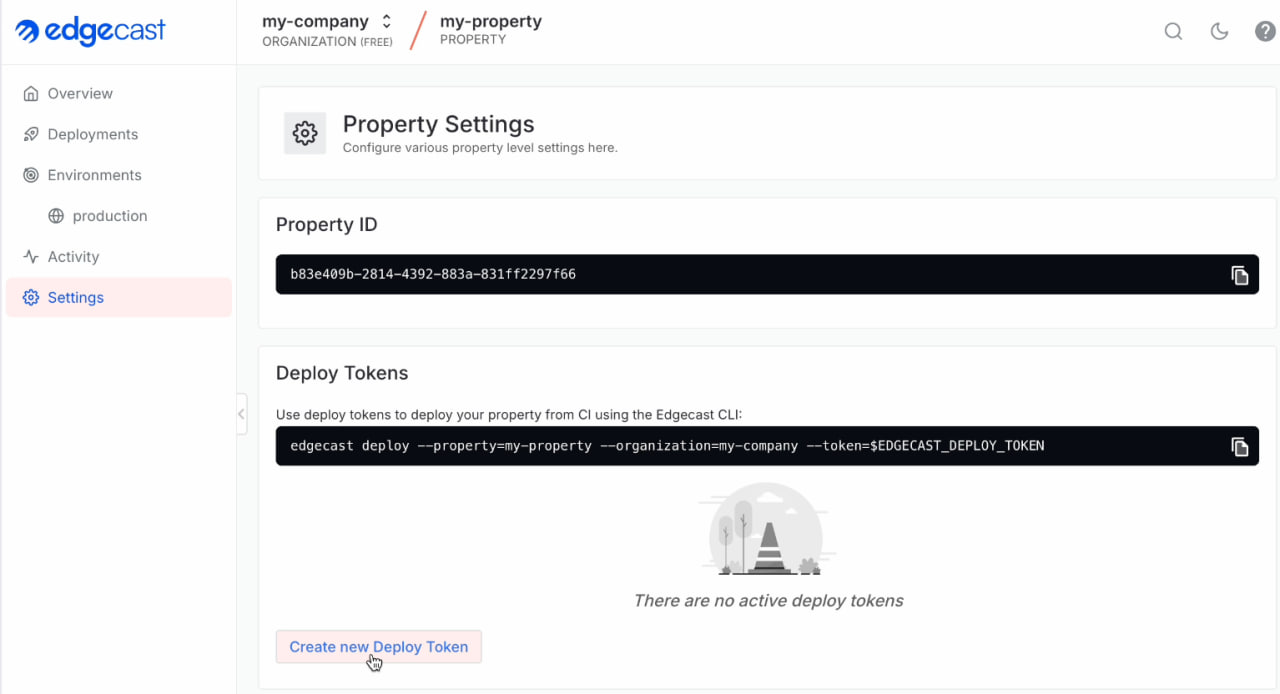
Create a deploy token (see Deploying from CI). Copy the value of that token for use in the next step.
Save the deploy token inside GitHub (more info). Go to your GitHub project > Settings > Secrets > New repository secret. Save the item as EDGIO_DEPLOY_TOKEN.
Inside your development project, create a top level folder titled .github. Inside that create a workflows folder. From there create a edgio.yml file and use the example below for its content.
This sample GitHub action deploys your site to Edgecast. It requires:
A default environment. By default, new properties created through our CLI include a default environment. This Github action creates a new build for every push to the default environment.
A production environment. If you have not already created a production environment, then you should do so now.
A deploy token. Add this deploy token as a secret in your repository called edgio_deploy_token. Learn more on accessing environment variables which might be essential for your app during the build time and for server-side requests (including SSG/SSR).
Depending on your use of npm or Yarn, adjust the Install packages step.